Photo Editing
Use AI-powered tools to make targeted edits to interior and exterior photos.
Getting Started
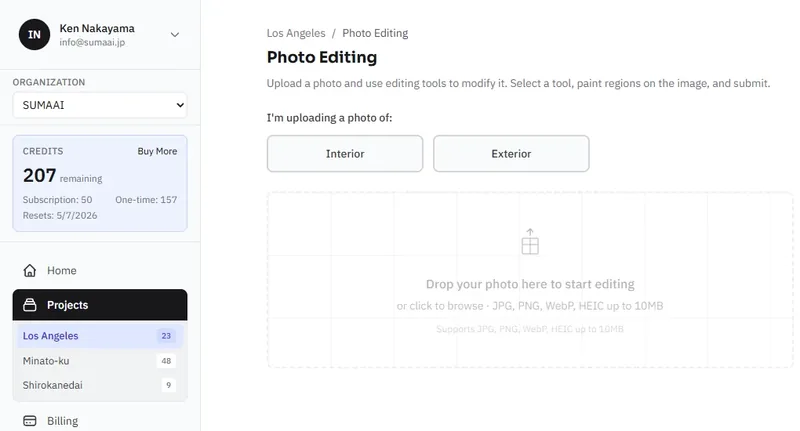
- In your project, click Create New Asset and select Photo Editing.
- Drag and drop your photo or click to browse.
- Formats: JPG, PNG, WebP, HEIC
- Max size: 10 MB
- Select the photo type: Interior or Exterior. This helps the AI understand the context of your edits.
How It Works
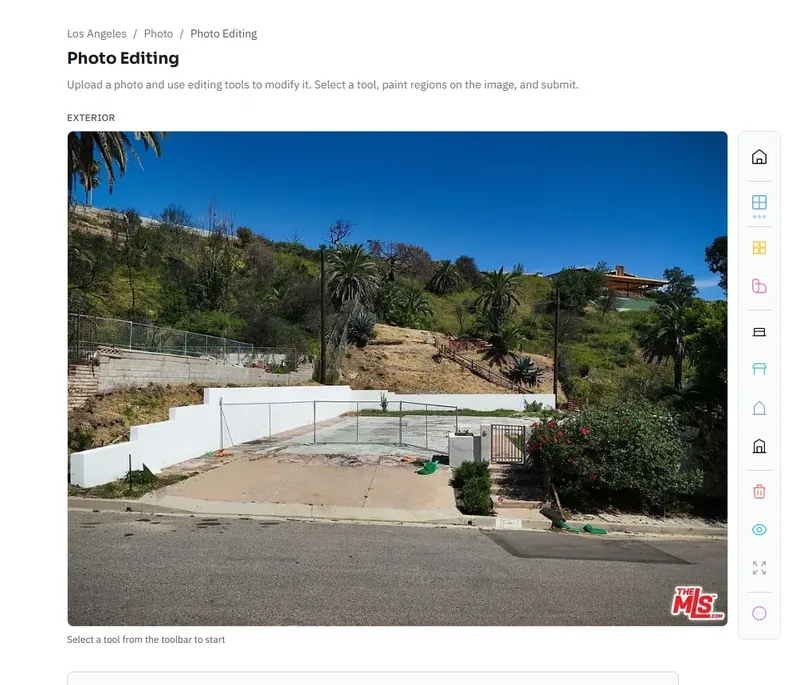
Use the tools in the toolbar to make targeted edits to your photo using AI.
Regional Edits
- Select a tool from the toolbar.
- Paint the area of the photo you want to change. You can adjust the size of the brush in the bottom left corner.
- Some tools allow further input to indicate specifically to the model what you want change.
- Repeat for additional areas (up to a maximum of 4 regions per edit).
Global Changes
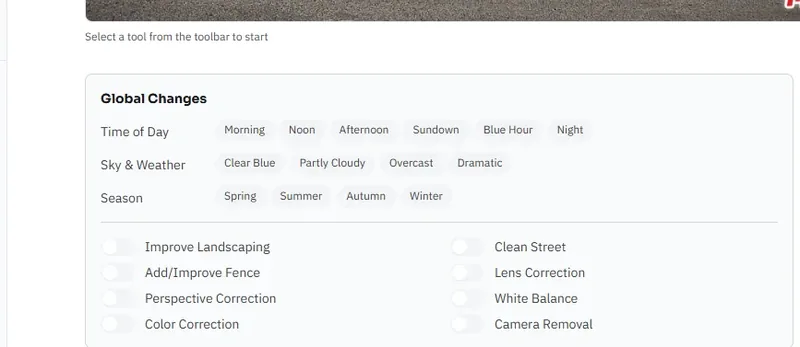
Apply changes that affect the entire photo - things like lighting mood, color correction, white balance, and perspective correction.
Custom Instructions
Use the free-text field to describe any other changes you'd like.
Submitting Edits
Click Apply Edits to process your changes. The AI will generate an edited version of your photo, which appears on the results page.
You can edit the result again for further adjustments - the process is iterative.
Available Edit Tools
See the Refining Results guide for a full list of regional and global editing options.